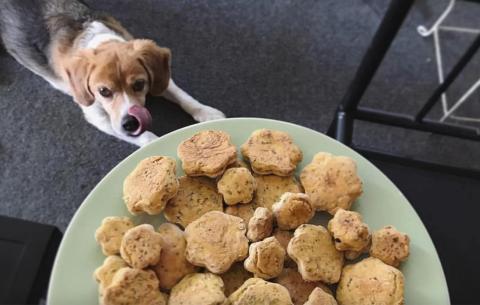
Homemade Dog Biscuits: A Delicious and Healthy Treat for Your Furry Friend
Published on November 13 by Julia
While store-bought dog treats can be convenient, many commercial products contain preservatives, artificial flavors, and ingredients that may not be ideal for your pet’s health. Making homemade dog biscuits is a fun, cost-effective, and healthier alternative. By preparing treats in your own kitchen, you can control the quality of ingredients, tailor them to your dog’s dietary needs, and even experiment with flavors your dog loves.
In this article, we’ll explore the benefits of homemade dog biscuits, offer some simple and nutritious recipes, and share tips for baking, storing, and serving your four-legged companion’s new favorite snack.
Why Choose Homemade Dog Biscuits?
Homemade dog biscuits come with several advantages:
1. You Control the Ingredients
Store-bought treats often contain artificial preservatives, colors, and flavor enhancers. When you make your dog’s treats at home, you can select wholesome, natural ingredients, avoiding additives that might irritate your pet’s stomach or trigger allergies.
2. Customizable for Dietary Needs
Homemade biscuits allow you to cater to your dog’s specific health needs. Whether your dog has food allergies, is on a special diet (like gluten-free or low-fat), or has sensitivities to certain ingredients, homemade treats can be tailored to suit their requirements.
3. Fewer Calories and Better Quality
Making your own dog treats lets you control portion sizes and ingredients. If your dog is prone to weight gain, you can create low-calorie biscuits without sacrificing taste. You can also choose to use high-quality, organic ingredients, which often aren’t available in commercial treats.
4. Bonding Experience
Baking for your dog can be a fun bonding activity. Involving your children (if you have any) in the baking process can also teach them about caring for pets and making healthy choices.
5. More Cost-Effective
Store-bought treats can get expensive, especially if you’re buying premium, all-natural products. Homemade dog biscuits are often more affordable, and you can make large batches to last for weeks.
Basic Ingredients for Homemade Dog Biscuits
The best homemade dog biscuits use simple, wholesome ingredients. Here are some of the most common ingredients in dog biscuit recipes:
Whole Wheat Flour or Oats: Whole grains like oats or whole wheat flour are a great source of fiber and carbohydrates for dogs. If your dog has a gluten sensitivity, you can substitute oat flour, rice flour, or coconut flour.
Peanut Butter: Most dogs love peanut butter, which is rich in healthy fats and protein. Make sure to choose peanut butter that’s free from xylitol, an artificial sweetener that is toxic to dogs.
Pumpkin: Pumpkin is packed with fiber and helps with digestion. It’s also a great source of vitamins A and C. Dogs love the taste of pumpkin, and it pairs well with many other ingredients.
Sweet Potato: Another fiber-rich ingredient, sweet potatoes are a healthy option that helps with digestion and provides a good dose of vitamins and antioxidants.
Eggs: Eggs are an excellent source of protein and help bind the ingredients together in the biscuit dough.
Chicken or Beef Broth: Low-sodium broth can be used to moisten the dough and add flavor to the biscuits.
Carrots or Apples: These fruits and veggies can add extra vitamins, fiber, and flavor to your dog’s treats.
Easy Homemade Dog Biscuit Recipes
Here are a few simple recipes for homemade dog biscuits that are easy to make and sure to be a hit with your dog.
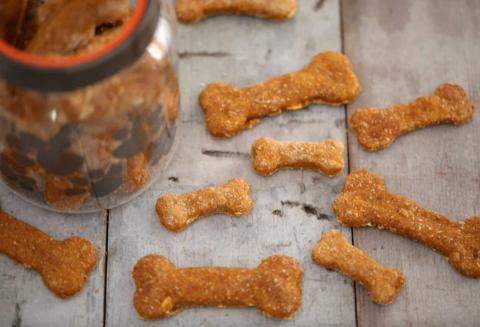
1. Peanut Butter and Pumpkin Biscuits
These treats are rich in protein, fiber, and healthy fats.
Ingredients:
1 cup whole wheat flour (or oat flour for a gluten-free version)
1/2 cup pumpkin puree (make sure it’s plain, not spiced)
1/4 cup peanut butter (unsweetened and xylitol-free)
1 egg
1/4 cup water or low-sodium chicken broth
Instructions:
Preheat the oven to 350°F (175°C).
In a large mixing bowl, combine the flour, pumpkin, peanut butter, and egg. Gradually add the water or broth until the dough comes together. You may need to add a bit more flour to achieve the right consistency.
Roll the dough out on a lightly floured surface to about 1/4-inch thickness.
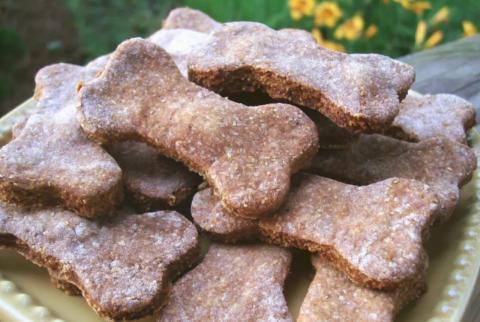
Use cookie cutters to cut out shapes (bones, circles, etc.), and place them on a baking sheet lined with parchment paper.
Bake for 20-25 minutes or until the biscuits are golden brown.
Let the treats cool completely before serving them to your dog.
2. Carrot and Apple Biscuits
These biscuits are packed with vitamins and antioxidants.
Ingredients:
1 cup whole wheat flour (or oat flour for gluten-free)
1/2 cup finely grated carrots
1/2 cup unsweetened applesauce or 1/2 cup finely chopped apple (without seeds)
1 egg
1 tablespoon olive oil or coconut oil
1/4 cup water (or low-sodium broth)
Instructions:
Preheat your oven to 350°F (175°C).
In a bowl, combine the flour, grated carrots, applesauce (or chopped apple), egg, and oil. Gradually add water or broth, mixing until a dough forms.
Roll the dough out to about 1/4-inch thickness and cut into desired shapes.
Place the biscuits on a parchment-lined baking sheet and bake for 20-30 minutes, or until firm and golden.
Allow the biscuits to cool before serving them to your dog.
3. Sweet Potato and Chicken Biscuits
These biscuits are a delicious way to sneak in some lean protein and fiber.
Ingredients:
1 cup whole wheat flour (or oat flour for gluten-free)
1/2 cup cooked, mashed sweet potato
1/4 cup cooked, shredded chicken (no bones, skin, or seasoning)
1 egg
1/4 cup low-sodium chicken broth
Instructions:
Preheat your oven to 350°F (175°C).
In a large mixing bowl, combine the flour, mashed sweet potato, shredded chicken, and egg. Add the chicken broth gradually to make the dough workable.
Roll the dough out to about 1/4-inch thick and cut into shapes.
Place the biscuits on a parchment-lined baking sheet and bake for 25-30 minutes, or until crisp.
Allow the treats to cool completely before serving.
Tips for Baking and Storing Homemade Dog Biscuits
Baking Time: Be sure to bake your dog biscuits long enough to ensure they’re crisp and fully dried out. This helps them last longer and prevents them from becoming soggy.
Storage: Store homemade dog biscuits in an airtight container at room temperature for up to one week. If you make a large batch, you can freeze them in freezer-safe bags or containers for up to three months. Just be sure to allow them to cool completely before freezing.
Size and Shape: Adjust the size of the biscuits based on your dog’s breed and size. Small dogs might appreciate bite-sized treats, while larger dogs can handle bigger biscuits.
Flavor Combinations: Feel free to get creative with ingredients! You can experiment with other dog-safe flavors like blueberries, bananas, or even bacon for special occasions.
Homemade dog biscuits are a simple and rewarding way to show your pet how much you care. Not only can you customize the ingredients to meet their specific needs, but you also have the satisfaction of knowing exactly what goes into every treat. Whether you’re baking peanut butter and pumpkin biscuits, carrot and apple delights, or sweet potato and chicken snacks, your dog is sure to love the wholesome flavors and nutritious benefits. So, grab your apron and get baking — your furry friend will thank you with tail wags and happy paws!
Discover More Content
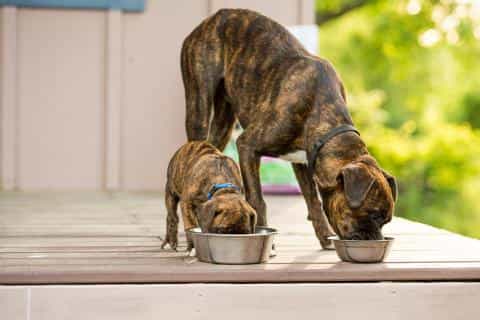
Feeding Two Dogs: Keeping Mealtime Safe and Stress-Free
How to Read Dog Food Labels: A Guide for Pet Owners
Keep It Out of the Bowl: 15 Human Foods That Can Harm Your Dog