Effective Earwax Removal for Dogs: A Guide to Clean and Healthy Ears
Published on October 21 by Olivia
Earwax removal for dogs is an important aspect of maintaining your pet's ear health. Dogs naturally produce earwax to protect their ear canals from dirt, debris, and infections, but excessive buildup can lead to discomfort, infections, and even hearing problems. Regular ear cleaning helps prevent these issues, especially in breeds prone to ear infections, such as those with floppy ears or narrow ear canals. Here's a guide on how to safely and effectively remove earwax from your dog’s ears.
Why Earwax Removal is Important:
Excess earwax can trap dirt, bacteria, and yeast, which can lead to infections. Some dogs produce more earwax than others, and certain breeds are more susceptible to ear problems due to the shape of their ears. If left unchecked, earwax buildup can cause ear infections, inflammation, and in severe cases, damage to the ear canal.
Signs Your Dog Needs Earwax Removal:
Excessive Head Shaking or Tilting: If your dog frequently shakes its head or tilts it to one side, it may be trying to relieve discomfort caused by earwax buildup.
Scratching at the Ears: Persistent scratching or pawing at the ears is a common sign of irritation or excess wax.
Odor from the Ears: A strong or unusual smell coming from your dog's ears could indicate a buildup of wax or an infection.
Redness or Swelling: If the inner ear appears red or inflamed, it’s time to check for excess earwax or other issues.
Discharge or Dark Brown Wax: While a small amount of earwax is normal, excessive discharge, dark brown or black wax, or pus-like material can indicate a problem.
Ear Sensitivity or Pain: If your dog yelps or pulls away when you touch their ears, it may be experiencing pain due to earwax buildup or an infection.
How to Safely Remove Earwax from Your Dog’s Ears:
Gather Supplies:
Dog ear-cleaning solution (recommended by your vet)
Cotton balls or gauze pads
A towel
Treats for positive reinforcement
Avoid using cotton swabs (Q-tips) as they can push wax deeper into the ear canal or cause damage to the eardrum.
Prepare Your Dog: Make sure your dog is calm and comfortable. You may want to have someone help hold your dog still, especially if this is a new experience for them. Offer treats to keep them relaxed.
Examine the Ears: Before cleaning, gently inspect your dog’s ears. If you notice any signs of infection, such as redness, swelling, discharge, or a foul odor, consult your veterinarian before proceeding. Cleaning an infected ear can worsen the condition.
Apply Ear Cleaning Solution: Gently lift your dog’s ear flap and apply the ear-cleaning solution directly into the ear canal. Be sure to follow the product's instructions for the correct amount. Avoid touching the tip of the bottle to the ear to prevent contamination.
Massage the Ear: After applying the solution, gently massage the base of the ear for 20-30 seconds. This helps break up the wax and debris inside the ear canal. You should hear a "squishing" sound as the liquid moves around inside the ear.
Wipe Away Excess Wax and Solution: After massaging, allow your dog to shake its head, which will help dislodge the remaining earwax. Use a cotton ball or gauze to gently wipe away any wax or liquid from the ear flap and outer ear. Avoid going too deep into the ear canal.
Repeat for the Other Ear: If both ears need cleaning, repeat the process for the other ear. Always use a clean cotton ball or gauze for each ear to avoid spreading any potential infection.
How Often Should You Clean Your Dog’s Ears?
The frequency of ear cleaning depends on your dog’s breed, activity level, and earwax production. In general:
Dogs with floppy ears (e.g., Cocker Spaniels, Basset Hounds) may need their ears cleaned once a week.
Dogs with upright ears or those that produce less earwax may only need ear cleaning once a month or as needed.
Preventing Earwax Buildup:
Regular Inspections: Check your dog’s ears regularly for signs of excessive wax, dirt, or infections. Early detection can prevent more serious issues.
Maintain Ear Dryness: Moisture in the ear canal can encourage the growth of bacteria and yeast. After baths or swimming, make sure to thoroughly dry your dog’s ears.
Use a Vet-Approved Ear Cleaner: Avoid homemade ear-cleaning solutions or products not specifically designed for dogs, as they may irritate your dog’s ears.
When to Consult Your Veterinarian:
If you notice any of the following, it’s best to consult your vet before attempting earwax removal:
Persistent odor or discharge: This could indicate an ear infection.
Severe redness, swelling, or pain: These are signs of infection or other issues that require veterinary care.
Bleeding from the ear: This can indicate trauma or a more serious condition.
Regular earwax removal is essential to maintaining your dog’s ear health, preventing infections, and keeping your pet comfortable. By using proper techniques and vet-recommended products, you can safely clean your dog’s ears and minimize the risk of earwax buildup or related issues. Always monitor your dog for signs of discomfort or infection and consult your veterinarian if necessary for the best care possible.
Discover More Content
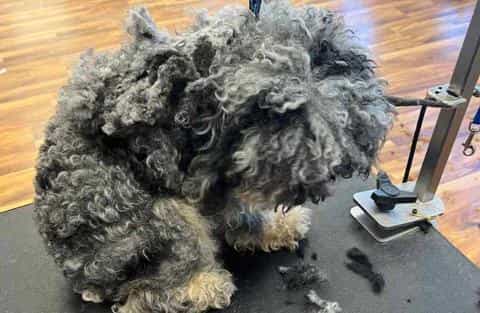
Tangled Trouble: How to Remove Mats from Your Dog’s Coat
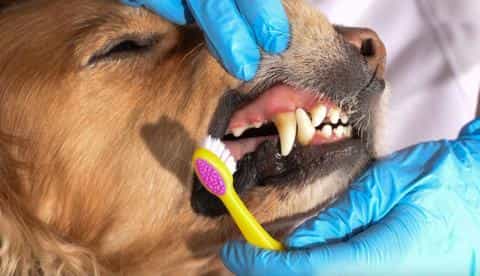
Keeping Your Dog’s Teeth Clean: How to Prevent Plaque Buildup
Phantom Pregnancy in Dogs: Symptoms and Causes Explained